There are a myriad of platforms used by UX/UI designers to create interactive prototype. Designers have the freedom to select the tool to use. If you are an upcoming or vast experienced designer, you should purpose to use an interactive prototyping tool with full functionality. Such a platform can help you create a fully interactive app prototype. As you work on your project, time is an essential resource, so you should look for the best prototype tool you can complete your design fast. From the vast list of prototyping tools, Wondershare Mockitt stands out among all of them. Let’s look why you should opt to use Mockitt to create interactive prototypes.
Introductions of Wondershare Mockitt
Mockitt is powerful interactive prototyping tool with a lot of gestures, interactive animations, transition effects and other features required for UX/UI designing. It has great capabilities like shareable and customised asset libraries, collaboration, dynamic widgets, customizable widgets and many others that allow you create perfect and valuable interactive prototype for your end users. Wondershare Mockitt makes it easy for any UX/UI designer to create prototype interactive on its clean interface. This is what makes it a top option for both novices and experienced designers. To avoid issues that arise among designers and developers, the tool allows for smooth collaboration making it easy for team members to work on the same project efficiently.
Features that make Wondershare Mockitt a unique interactive prototyping tool
As a UX/UI designer, you need a tool with a myriad of functional and easy to use features. Mockitt is an excellent tool because of its rich features that are easy for any designer to apply.
User friendly interface
Have you ever tried using a tool to create prototype, but would not figure where to start? With Mockitt, you can start the design process instantly with its clean user interface. Even if you are new in the UX/UI designing field, you find the interface easy to understand. You can easily find all the components and all features you need for your interactive app prototype. Besides, you can apply them by simple drag and drop actions or just double clicking the components.
Cloud hosted
Unlike most of other prototyping tools, Wondershare Mockitt is cloud hosted. This means you can access it anywhere as long as your laptop, PC or any other device you are using has internet connection. When using the tool for your UX/UI design project, you do not have to download or install software into your device. This helps save time and gives you flexibility to create your prototypes anywhere you are.
No coding required
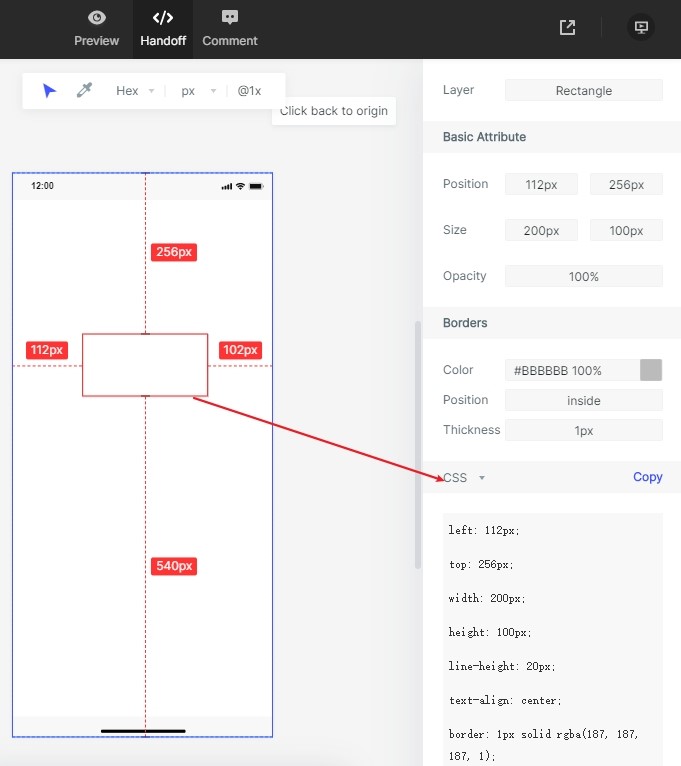
One of the challenges many new designers face is lack of coding skills. With Wondershare Mockitt, you do not need to have the coding skills. The codes for your design get generated automatically on the cloud and availed to developers.
Library full of assets
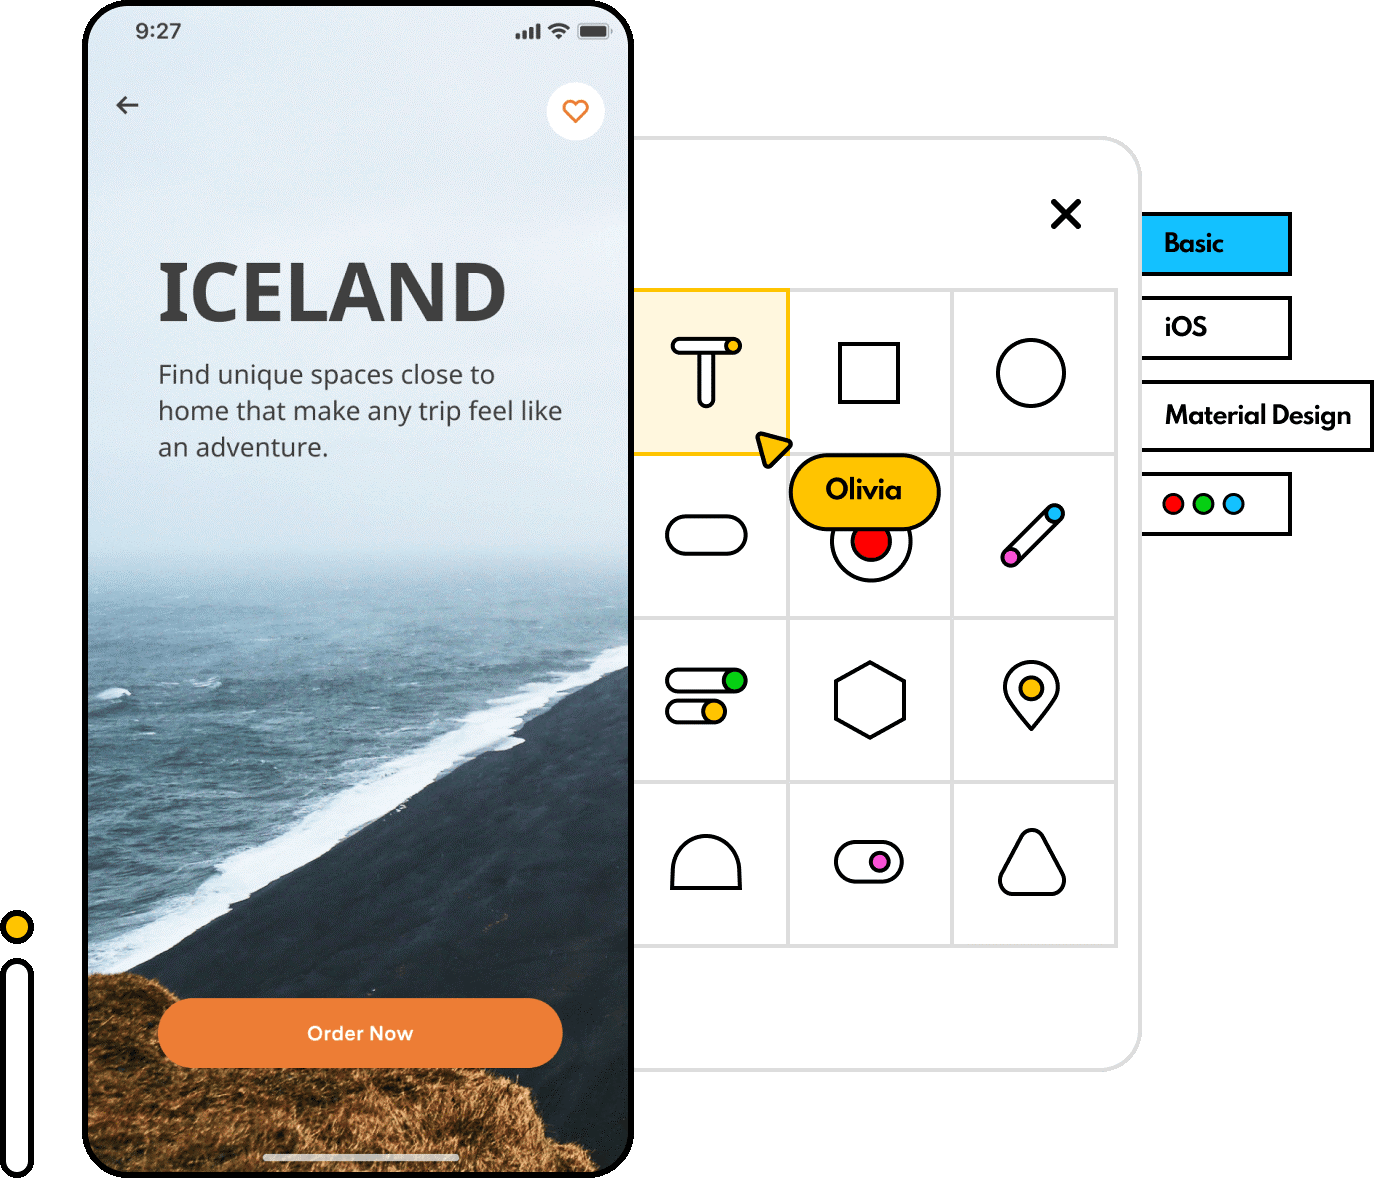
Wondershare Mockitt has an asset library will components, widgets and features that help you create a fully interactive prototype. You can use the many icons, templates and widgets directly. When creating the prototype design, you can manage the asset library by customising widgets, save and use with a single click. Besides, designers can also share the asset library with your team members. This allows you create the prototypes harmoniously.
Steps to create interactive prototype with Mockitt
It is straightforward to create prototype interactive using Wondershare Mockitt. Create an account with your details on Wondershare Mockitt. Use the details to access the platform dashboard.
Step 1. Initiate a new project
The first step is to create a new project. Click new project button and name your interactive prototype. Select which device you are creating the prototype for. You have option to create prototype for tablet, mobile, web and others.
Step 2. Create your prototype design artboards
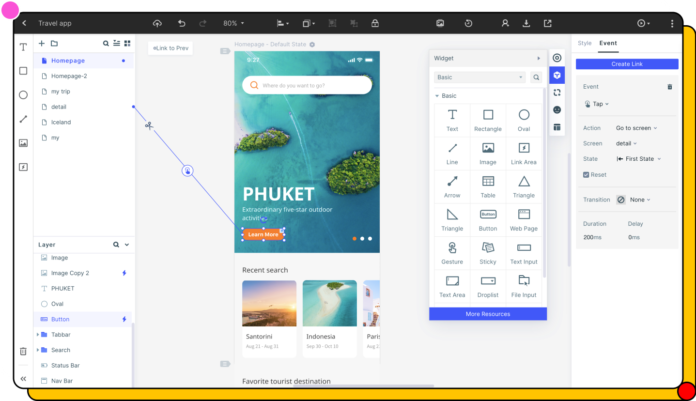
On the editing area, start the designing by dragging and dropping widgets, assets and all other elements you require on the artboard. You get these elements from the asset library on the right side of the panel or the quick access panel on the left side of the artboard. Start editing them on the artboard/screen to match your specific prototype needs. Modify their attributes using your mouse or the property panel found on the right side of the artboard. Once your artboard has a layout you want, you can add new artboards and design using the same procedure.
Step 3. Linking interactive elements
Link the interactive elements to make your prototype design dynamic and more interactive. Use gestures in the asset library to trigger the transitions and other effects. Do this by dragging an asset link icon and dropping it on the right target page. Once the link is established, you can edit it to add the response effect and trigger gesture to complete this interaction. Repeat the same to all other interactive components on all the other artboards.
Step 4. Add annotations
Add connotations/notes to give further explanation regarding your interactive prototype using sticky widget. Use this feature to explain aspects that may not be easy to understand by your stakeholders.
Step 5. Preview and share your create interactive prototypes
Preview the prototype design to confirm that it is working perfectly and all the pages have the desired look. Click the preview button on the right side of the screen. Zoom your design to the appropriate size for better reviewing. Double click on board to make comments regarding the design.
After you have previewed and satisfied, you can share it with other stakeholders. Click on the share button, by copying the share link. Share the URL with others for online preview.
Wondershare Mockitt allows for offline preview. Download the HTML demo package. Send it to your stakeholders or clients for preview through email or shared folder.
Step 6. Handoff
Mockitt generates all the required code automatically and avail them to the developers. The developer can come on; do code inspection before downloading the package or other asset documentation. This makes it easy for you to hand over the design to the developers.
To use Wondershare Mockitt, you can opt for the free package. However, if you are working as a team and want to access more screens and other features, you can select personal or enterprise packages.


